

Converting a wine barrel into planters
/As someone who spends a lot of time trying to cheat her shady garden beds into producing more flowers, in defeat I also spend a lot of time squeezing in more and more containers to make the most of growing in the sunny spaces.
My mother warned me off pots early in my gardening venture, stressing that they require so much more care due to watering. And she was not wrong.
I’ve watched short rooted annuals totally fry before my eyes in the hot, dry and windy Canterbury summer simply because I “missed a day”.
However, as my obsession for decorating my outdoor spaces has grown, there is no avoiding the drive to greenify my paved areas, and pots are the solution.
My philosophy is this – if I have 3 pots I may as well have 30 as they will all need watering daily anyway.
Planning to go on a summer holiday reminds me of my parents encyclopedic lists when fleeing the farm for a break. I need a “pot” sitter more than I need a cat sitter and this comes with a colour coded map of the pot city complete with detailed instructions on actual water application.
“Water all pots until you see a good flow coming out the bottom. Must be checked morning and evening. Stick finger into soil up to middle knuckle to test dryness. On no exception can you leave pots un watered for more than 48 hours.”
You can tell I have people lining up for the job, right?
Over the past three years, I have piled high the unexpected personal benefits of being “a gardener” and my early evening garden stroll with my hose is one of them. It takes as long as it takes (at least 30 minutes) and it pulls me into my calm little space where I get to notice the changes on a daily basis.
Honestly, I totally love it.
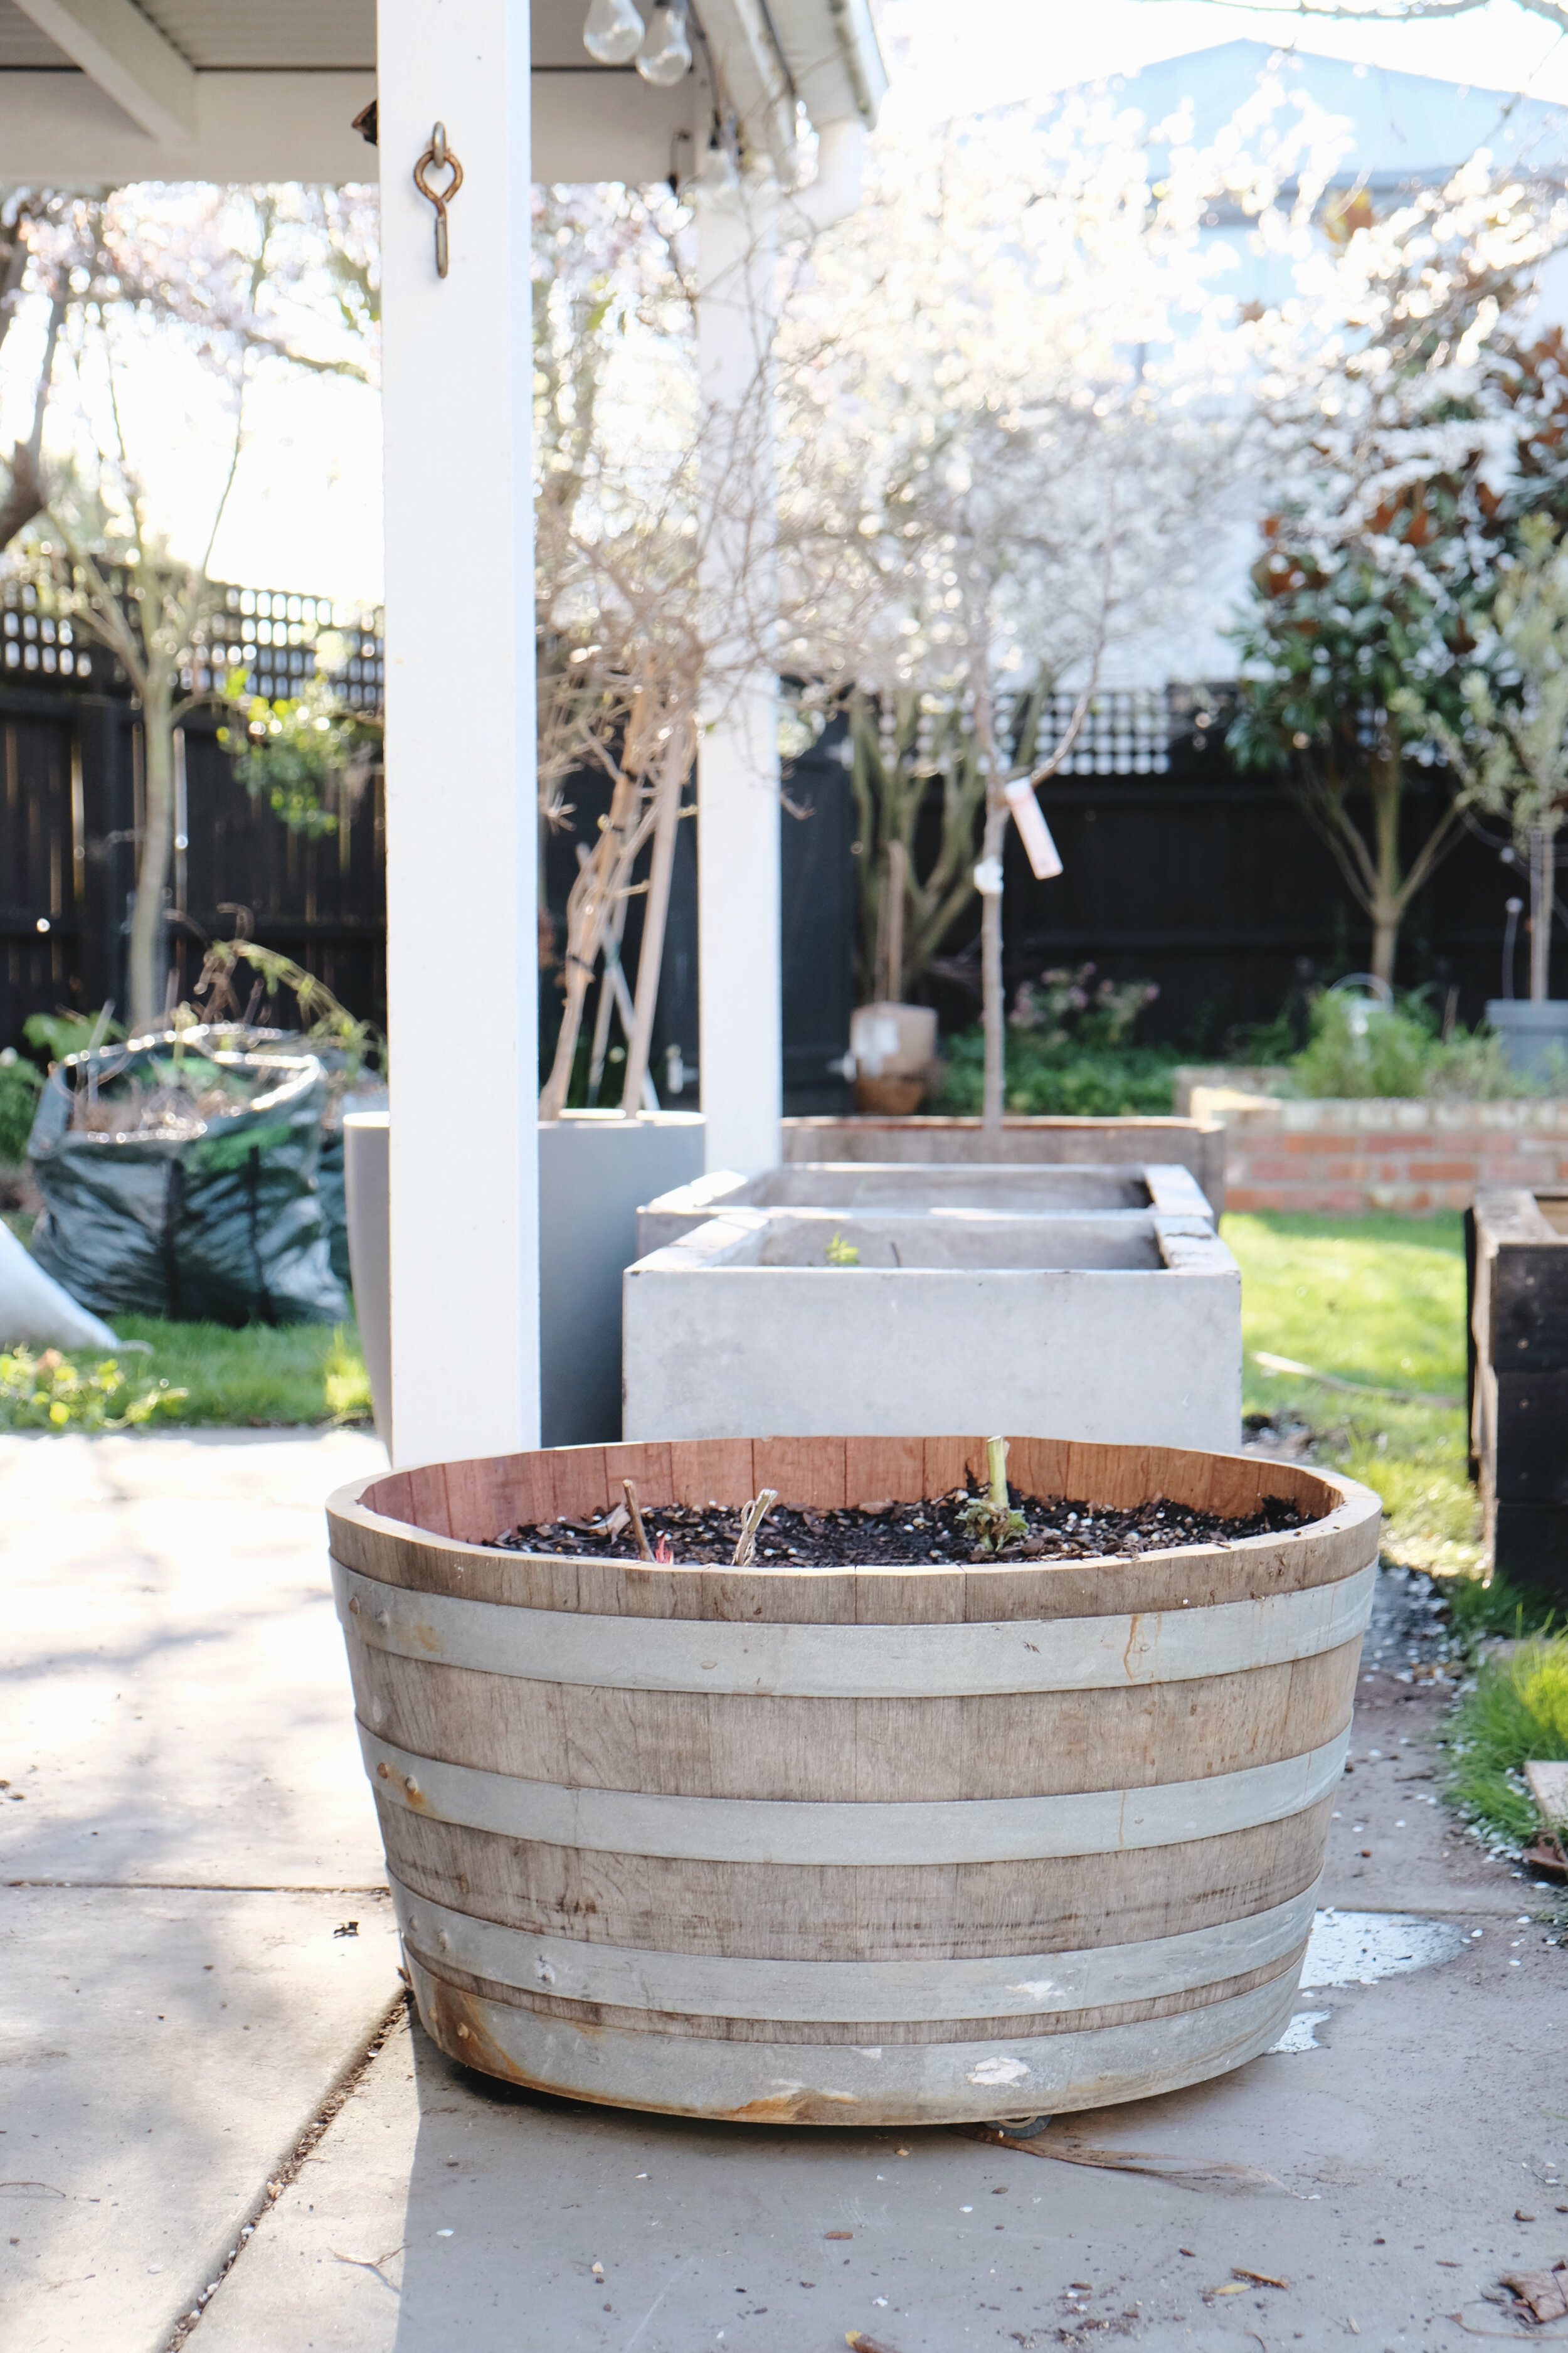
The bigger the pot the better it can resist the dry, so wine barrels have become our preference. They are also fantastic for planting small trees in.
At seven half barrels I believe we might have just hit our quota spacewise, but I’m always up for the design challenge. Our barrels currently house a Japanese maple (pulled out of the garden), a dwarf apple tree, a topiaried ball, a rose, three dahlias and two barrels with a mish mash of interesting, summer flowering perennials.
My husband came up with the idea of drilling castors to the bottom and this has proven invaluable.
Obviously, most relevant to those putting their planters on paved areas, but also super handy to those that love a good “move around”. Like me.

Using a jigsaw to slowly cut around the barrel on our pre measured lines. Its fun to have the resulting planters at different heights.
Below is how we prepare a full wine barrel to be new planter.
EQUIPMENT:
Full wine barrel with “ends” on. We source ours directly from a wine maker friend but I often see them for sale in online market places.
Measuring tape
Jigsaw
Protective ear coverings
Electric drill
3 x castors per barrel. We used 50 mm swivel rubber castors that were sold in pairs and 25 mm screws.
Hardy paint brush
Something to waterproof interior of barrel. We used Bituproof plus by Cemix. A 1 litre bucket did 4 x half wine barrels with plenty to spare. Whatever you use, this is aimed at prolonging the life of your barrel and to resist rotting.
Mask and gloves to wear when handling potting mix. Legionnaires disease is caught from airborne spores in bagged mix. Be careful.
Potting mix. I choose to go as high grade as possible for longevity. Under half height planters need about 1.25 x 40 litre bags. Over half height planters need about 2.5 x 40 litre bags.

Spacing the castors out in a balanced triangle and drilling drainage holes.
PROCESS:
Decide on height you want each “planter”. Trees will need deeper and flowering plants less. Varying the heights instead of cutting straight down the middle will look great visually when grouped together.
Set the length on your tape measure, gently turning the barrel with one hand running the tape steadily around the base, and the other tracing a pencil line around the outside for you to follow when sawing.
Carefully cut with jigsaw. It is slow going so concentrate and take your time! Wear ear protection.
Drill drainage holes. We scatter about 5 around the base of each barrel. Use a chunkier drill bit.
Using drill again, attach 3 x castors to base of barrel, towards the edges, in balanced triangle formation for support.
Brush layer of waterproofing substance over interior of barrel. Covering the base and sides up to around 15-20cm from the rim.
Test balance and test all castors are rolling easily before filling.
Move planters into intended spot (you will move around later I am sure, but they become very heavy once filled).
Put on protective mask and gloves before filling.
Fill with container specific mix.
Soak your filled containers before planting to see if you need to add more mix once settled.
Plant away when ready, watering your new plants in.
Enjoy! The beauty of these barrels is you can take this part of your garden with you when you move and even better, this is a way to create a garden if you have no soil space at all.

Painting the interior sides and base with a waterproofing substance to give longevity to the barrels

Planters free wheeling on their castors and waterproofed.
Planted up with summer flowering perennials and dwarf apple in one to the back of the image.
This article also appeared in Stuff Homed on the 8th of Oct. 2020 as part of my weekly gardening column for beginners.