

Garden to Vase: Bach Bouquet in a Can
/
One of the ways I grew my interest in gardening was opening my eyes up to all the plants around me instead of just ignoring them as general background green. Collecting little snips here and there also helped me learn their names and begin to understand what I like, what smells good, what does and doesn’t last in a vase and even what grows in my local environment.
Hopefully the school holidays might provide a little more time for wandering than usual, so to start this all off on the right foot we need to establish some rules around “politely foraging” flowers and foliage from your surrounds. Common sense leads the way that you don’t stray onto private property and you definitely don’t pillage someone’s peony heads that are bobbing next to their fence.
To create a wee posy like this, focus on making imperceivable snips of shrubbery, trees and wild plants growing creekside, seaside and roadside. Little nibbles with short stems can rapidly equal a lush display for a window sill or kitchen table.
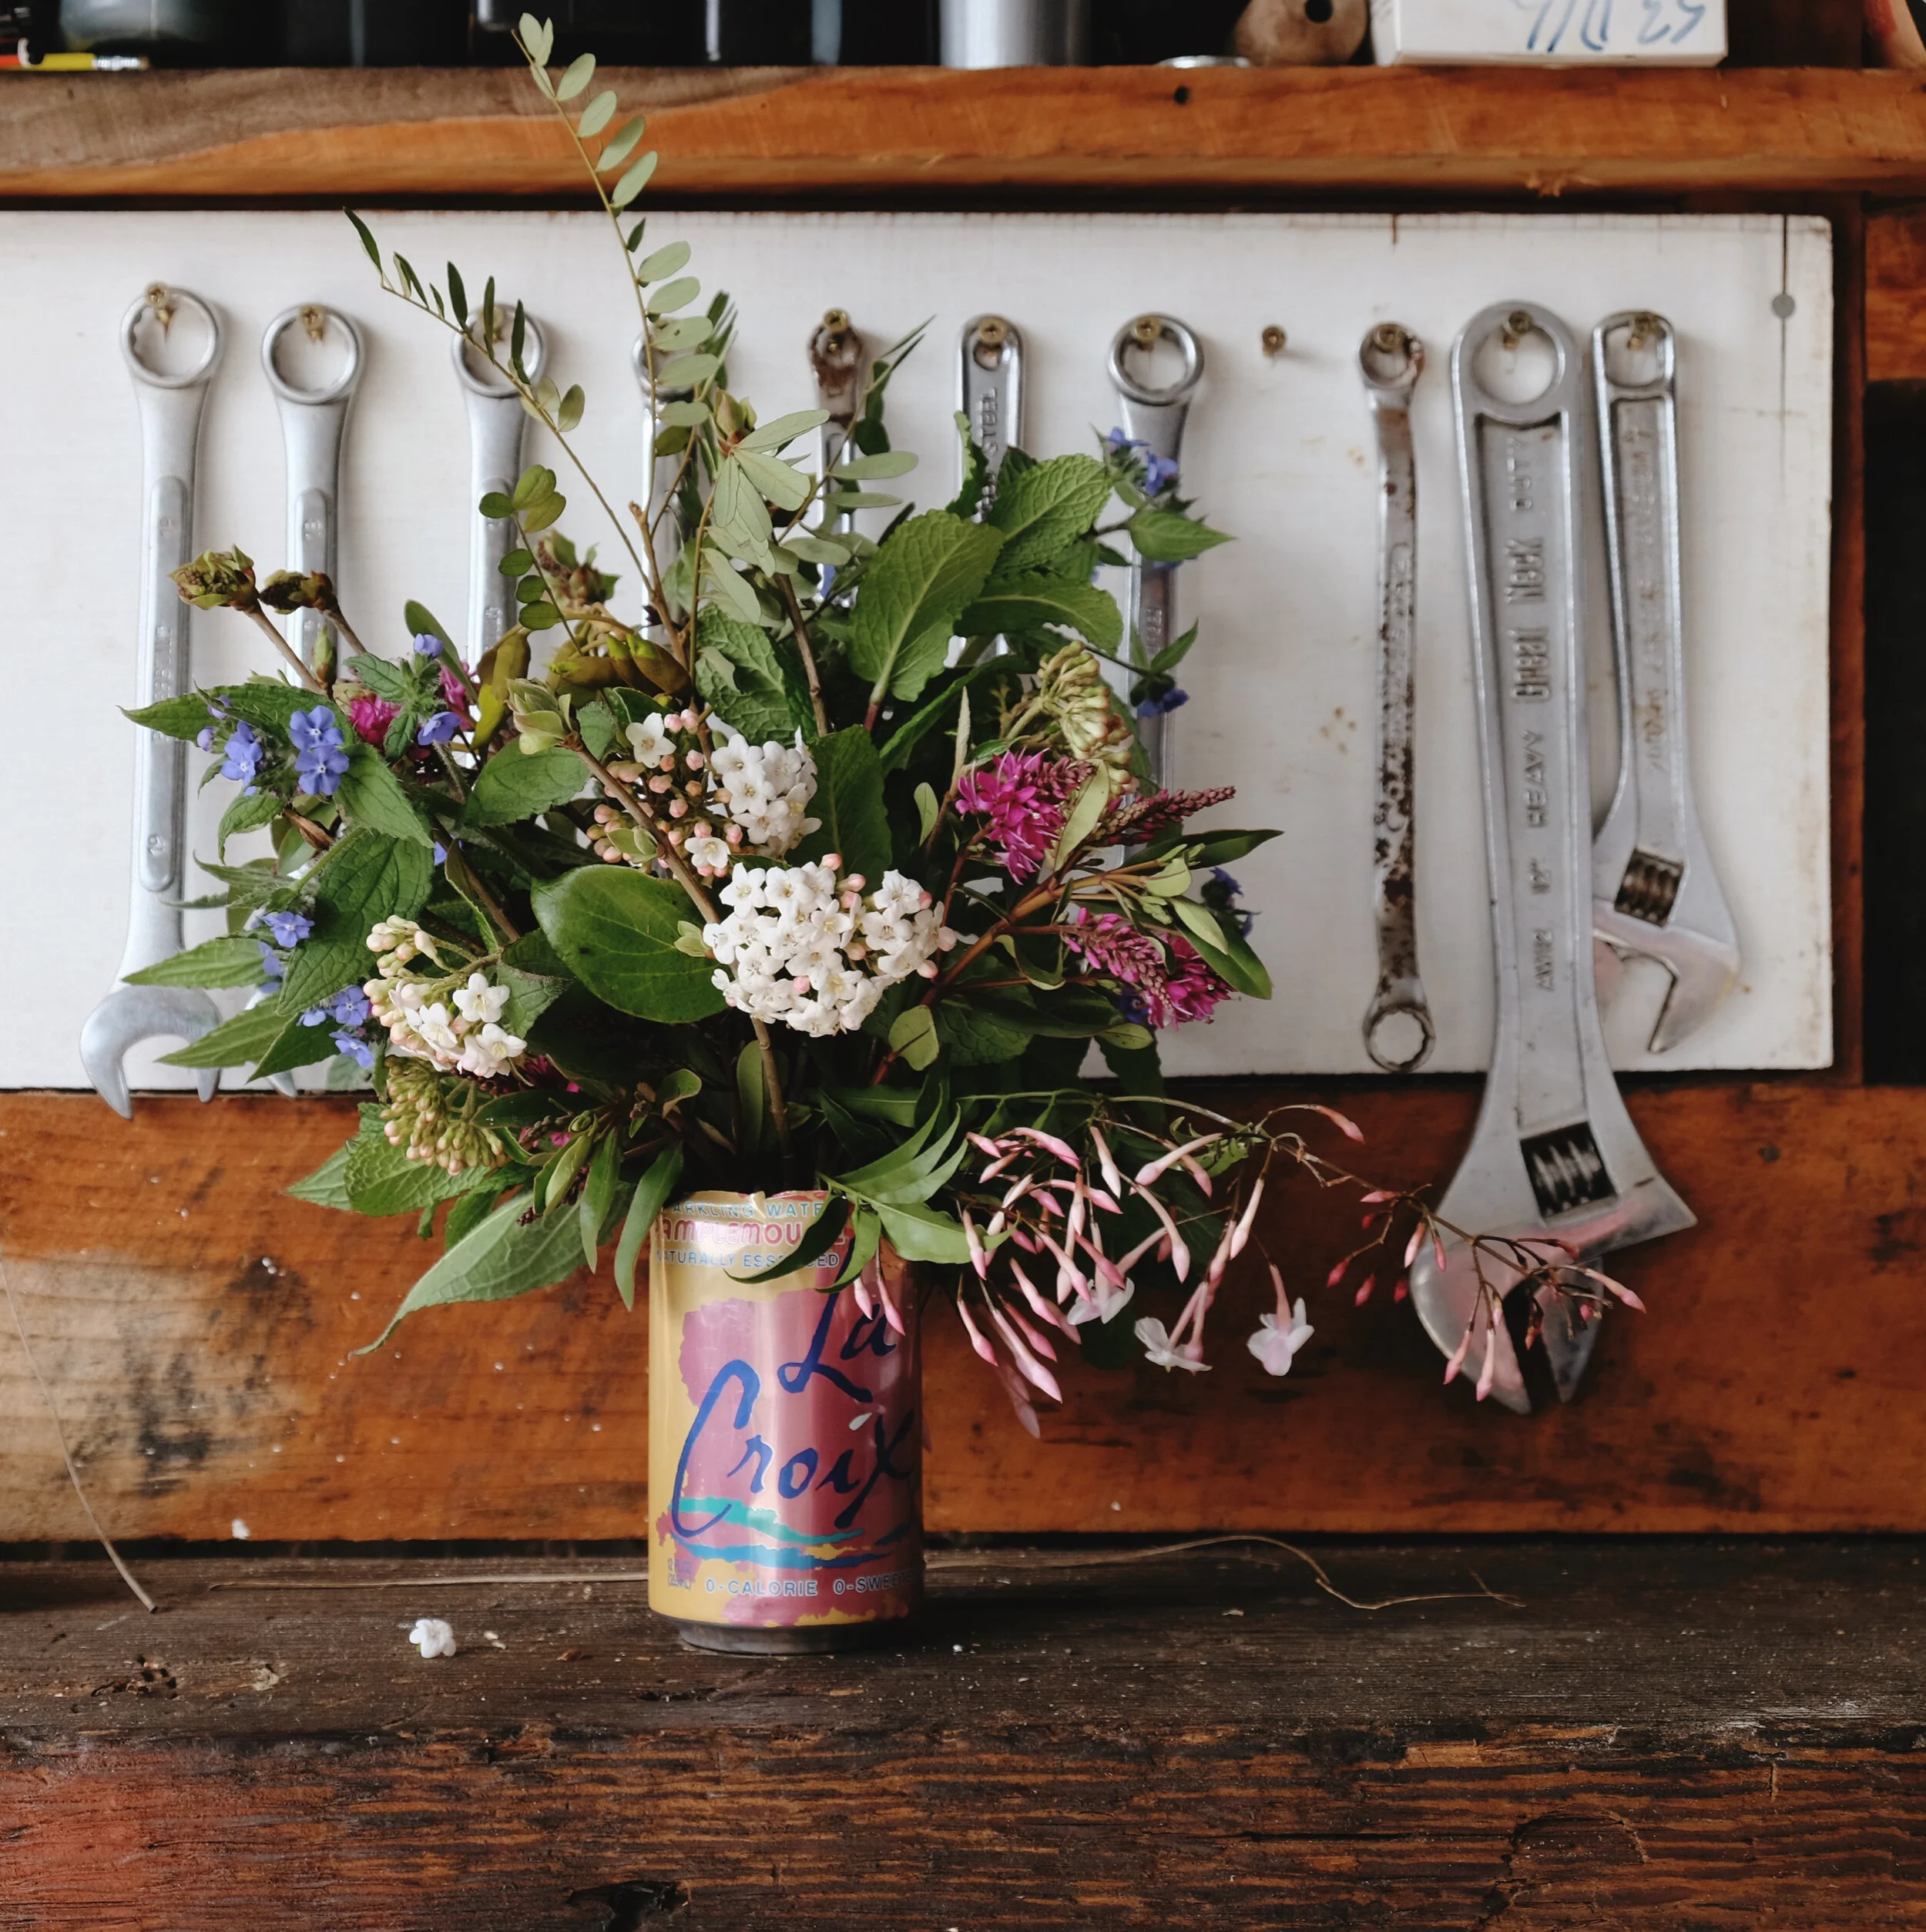
I created this fun bouquet while out walking the block in our friend’s quaint bay on Banks Peninsula, Canterbury. The need for the can arose when I realised there were no vases but also, I wanted to transport my bunch home in the car with a little water to keep it happy. So recycling ensued!

Jasmine, forget-me-nots and wild mint for by the creek.
RECIPE
For my bunch I used…
Hebe
Viburnum
Blossom (collected but not used in the end)
Kōwhai buds
Trailing jasmine
An unknown shrub!
Wild forget me nots
Wild mint
Vessel or can
Secateurs
Twine
For your own bunch, choose any plants you can gather respectfully! You’ll be surprised how a haphazard gathering of forms look great together.

Hebe, viburnum, bloss and an unknown shrub !

Any can will do! Be very careful cutting top off!
GUIDE:
Plunge all stems immediately into a jug of water as soon as possible after picking. Important to keep them hydrated.
Prepare or “condition” your stems by trimming off all leaves or branches that will be below the water line in the vase. This promotes cleaner water for longer vase life.
I built this posy loosely using the techniques to make a bouquet. This means that it could be viewed from all angles and would make it great for in the middle of a table.
To make I held the first sprig loosely in my left hand (as I am right handed) and started adding foliage and flowers.
Each stem added, I then “turned” the bunch once in a clock wise direction to add the next, slightly angled to cross the stems before it. This helps you create balance and a criss crossing effect for support.Don’t be afraid to pull out and reshuffle as your progress. Ultimately my aim is always for a slightly wild, “just picked” vibe which is much easier to achieve for us amateurs!
Once happy I wound and tied some twine around the bunch, just below the foliage and trimmed the stems evenly before putting into water.
CARE:
Top up your posy daily and even completely change its water every 2-3 days, giving the stems a fresh trim to aid in their drinking.


Wild is best!
All imagery, video and writing by Julia Atkinsonn-Dunn
Copyright of Studio Home
Published in my Stuff Homed column online and in print 1/10/20