

How to take cuttings
/
I have notebooks stacked on my desk packed with ideas to investigate for this column, at least five have been filled up over the last few years. Once the pages are full, I transfer to a new one, carrying over any topics I haven’t yet covered. There are a handful of topics that slide between the books like sinkers around my neck, remaining unaddressed as they feel too intimidating or too big a beast for my baby gardening mind to unravel and offer to you with clarity.
These include when/how/what to use for mass weed control beyond actual physical weeding (a rather loaded subject), an investigation on mycorrhizal fungi (which I will deep dive into soon) and the art of taking cuttings. On paper, the latter appears like the easy option, but I’ll admit, as a gardener in my sixth year, it has been somewhat of a mental roadblock.
After much investigation and urgent lesson requests from my gardening friends, it seems it is time to unravel the fear and break down this extremely reliable and cost-saving process for my fellow pale green thumbs so we can move forward together!
WHAT IS A CUTTING
To take a “cutting” is to remove a section of a parent plant, be it a stem, leaf or root to produce another of the exact same type by giving it favourable conditions to root, grow and flourish. Not all plants can be grown from a cutting and different plants favour different methods.
As a base rule, growing from cuttings is best done with shrubs, perennials and vines. Annuals and their rapid life cycle mean they mostly are not good options.

Penstemons are a great plant to grow from cuttings
WHEN TO TAKE CUTTINGS
It's possible to identify suitable stems and take cuttings from late spring into early winter and it is most definitely worth researching your target plants to identify their best time.
You want to avoid the immaturity of very young, new shoots in early spring and instead wait a little longer to take soft-wood cuttings. You can test the stage your plant is at by bending a stem in half. If it breaks (instead of just springing back into shape) it is now in the excellent soft-wood stage.
For soft-wood cuttings, you snip vibrant new growth in late spring to early summer. In summer you can take ‘semi-ripe’ cuttings where the stem you select has hardened a little further but their tips are still fresh and supple. Hardwood cuttings of matured woody stems can be taken from autumn into early winter.
From here I will concentrate on the process for soft-wood/ semi-ripe cuttings. Hardwood cuttings have some minor differences and are done as the plant sinks into dormancy.
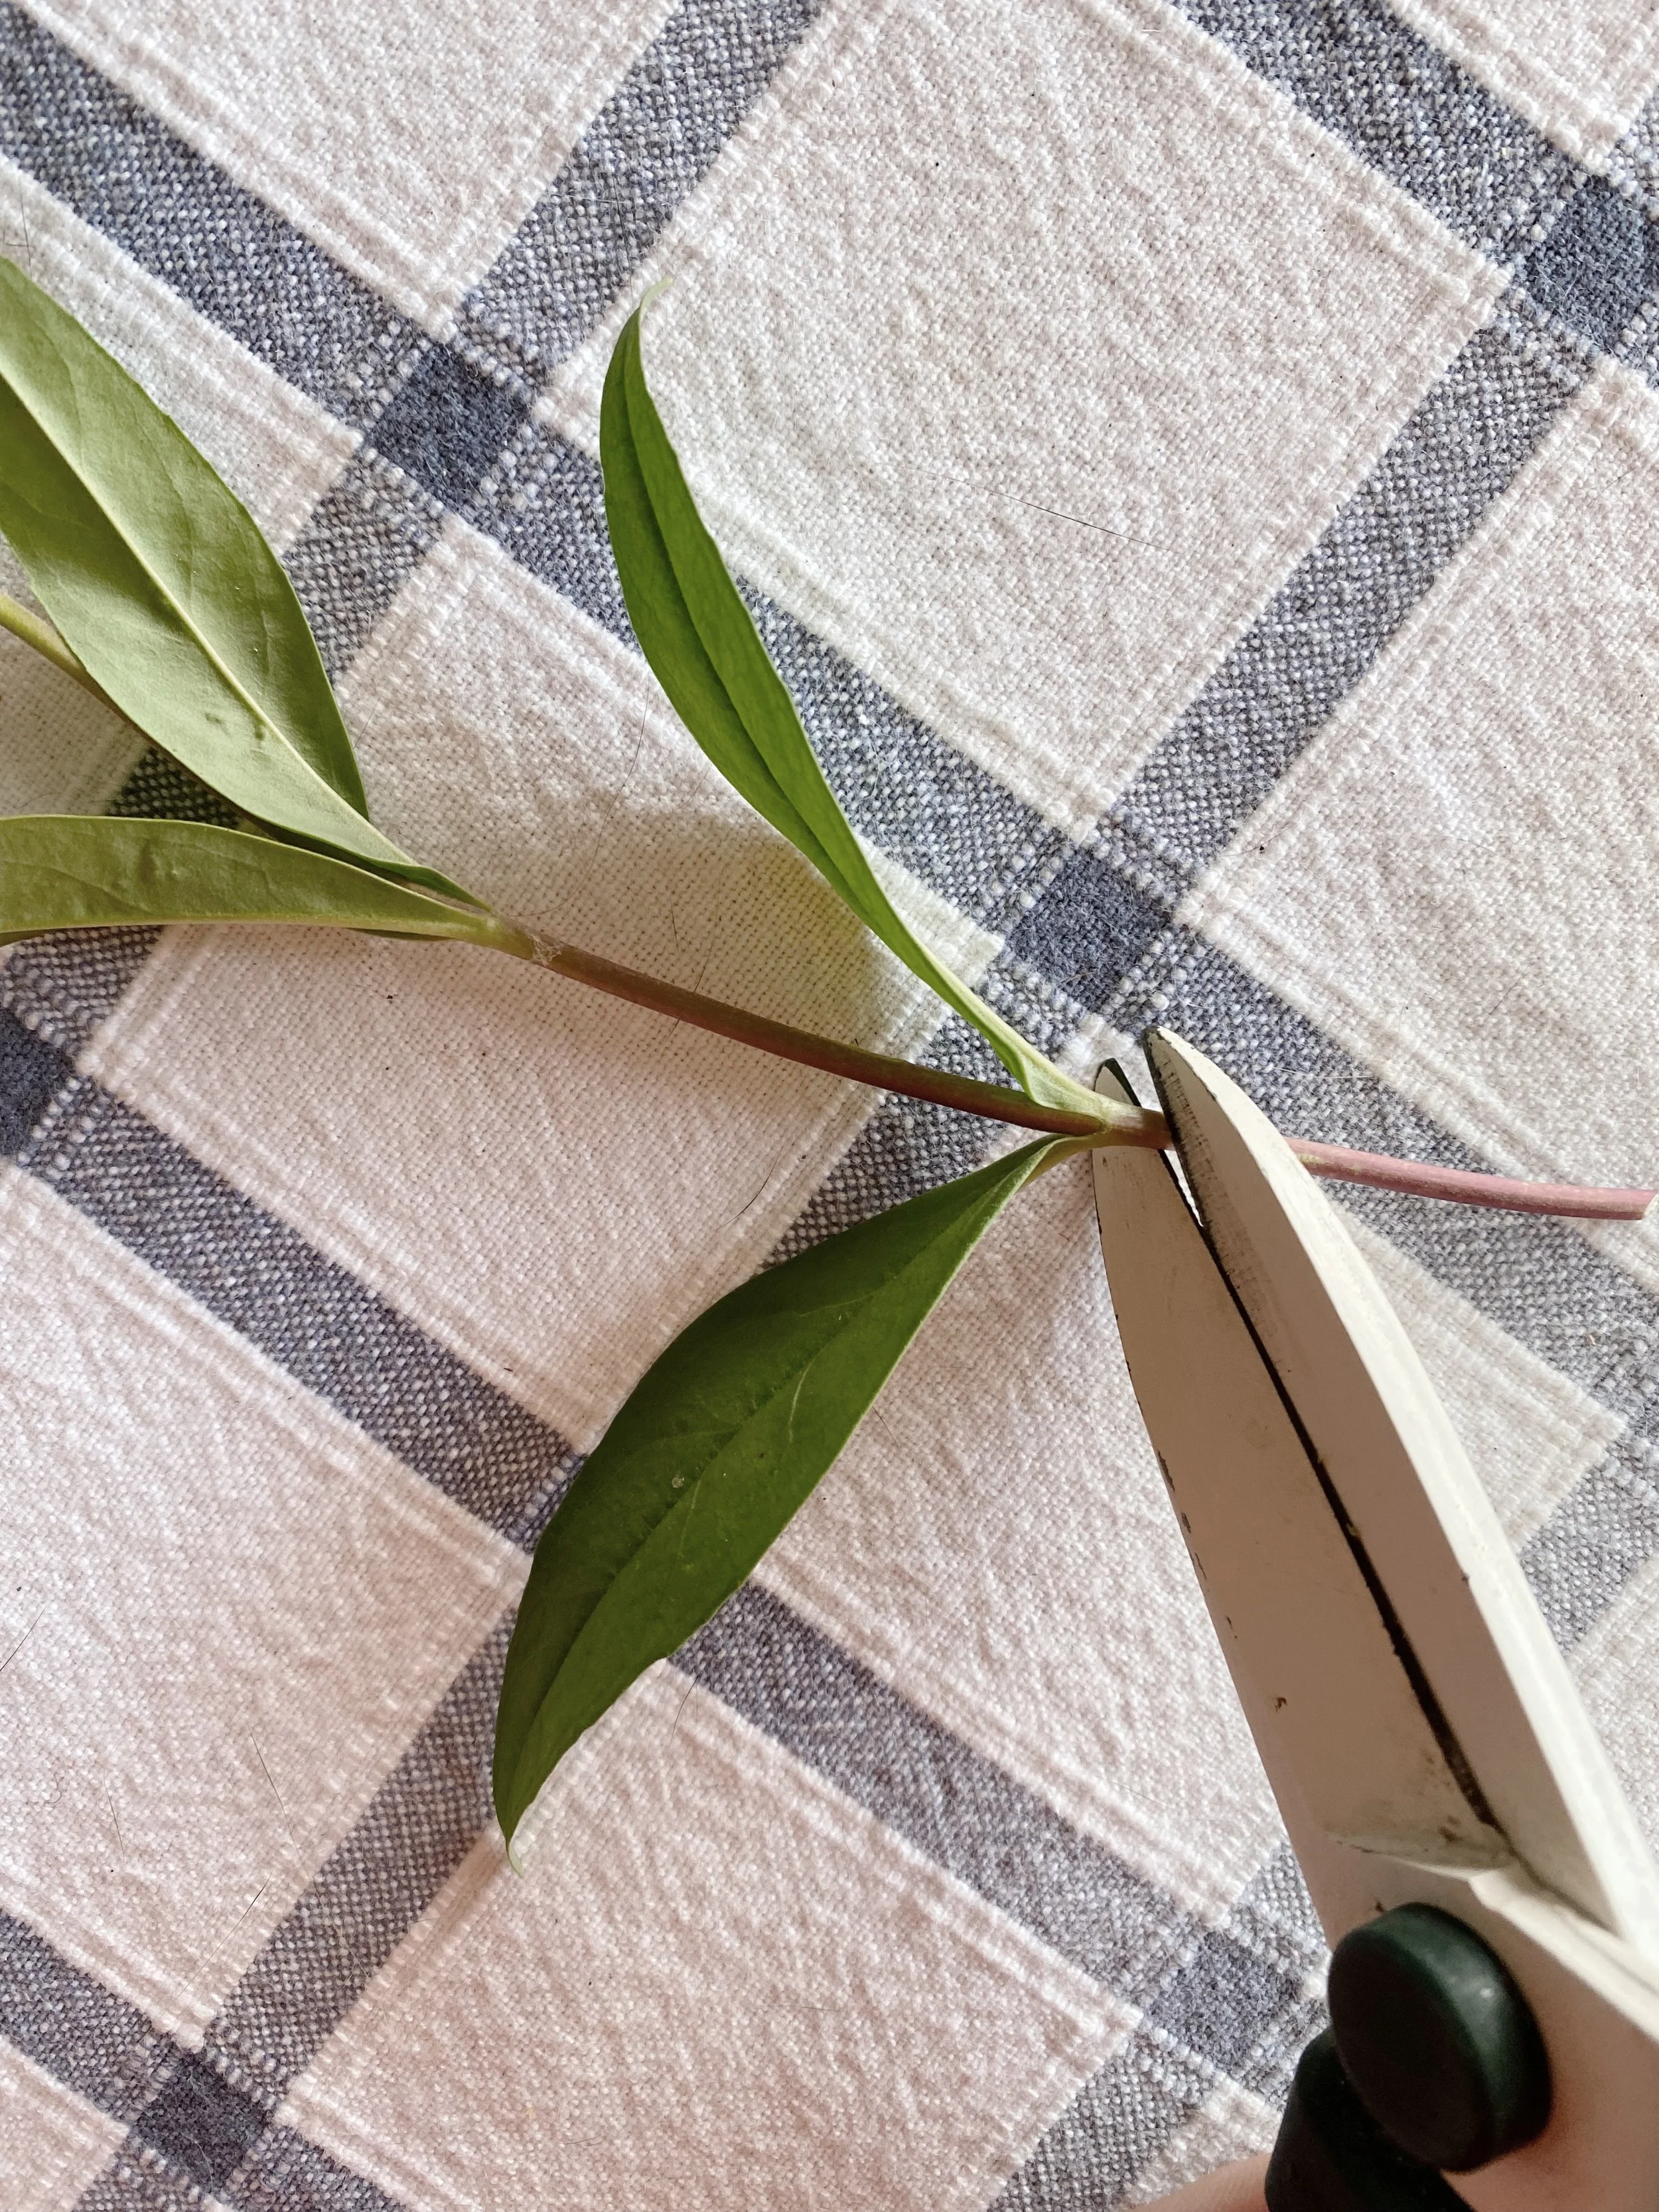
Snipping below a leaf joint / node and stripping off those leaves. This is the point from which the cutting will strike roots.
HOW TO TAKE A CUTTING
Before you make your cutting you need to prepare its growing medium. Fill a pot or tray with propagating mix (often called cutting mix) for best results and thoroughly soak it through with water.
Some people use grainy sand or make their own mixes, but unlike regular potting mix, it is important that this medium is light and free draining. It is easy to pick up a small bag from the garden centre.
The basic method of making a cutting is the same for most plants, no matter the maturity of the selected stem.
When making a selection, identify a stem of this season’s new growth (rather than hardened wood from previous years) that has not produced buds or flowers. These may be smaller side shoots down the main stem or body of the plant.
First thing in the morning, when the plant is hydrated, select a stem from a disease-free, vigorous plant for best results.
With a sharp clean pair of secateurs or knife at hand, measure 7- 10 cm down from the tip, making your cut just below a leaf joint (commonly referred to as a node). This is where your new roots will bud from.
Strip off those leaves you have cut below and any others on the lower 1/3 of the cutting. If your plant has broad leaves, snip the remaining leaves in half, leaving the little or slim ones whole. Your cutting is now vulnerable with no roots so reducing the leaf area will relieve its strain but still allow it surface area to photosynthesise and grow.
You then have the option to dip the heel of your cutting into a rooting hormone, easily purchased from a garden centre. This is aimed to invigorate the growth of roots and keep any harmful bacteria at bay but many wise gardeners I know skip this step. Perhaps it is most helpful for woodier stems.
Gently force your cutting into your lightly tamped down, level propagating mix until the lowest set of leaves is just above the surface and firm down the mix around it. You want enough stem in the ground to have a supportive base for your establishing plant. It can be a good idea to plant your cuttings around the inner edges of a pot to aid in support. You can plant multiple cuttings in a single pot!
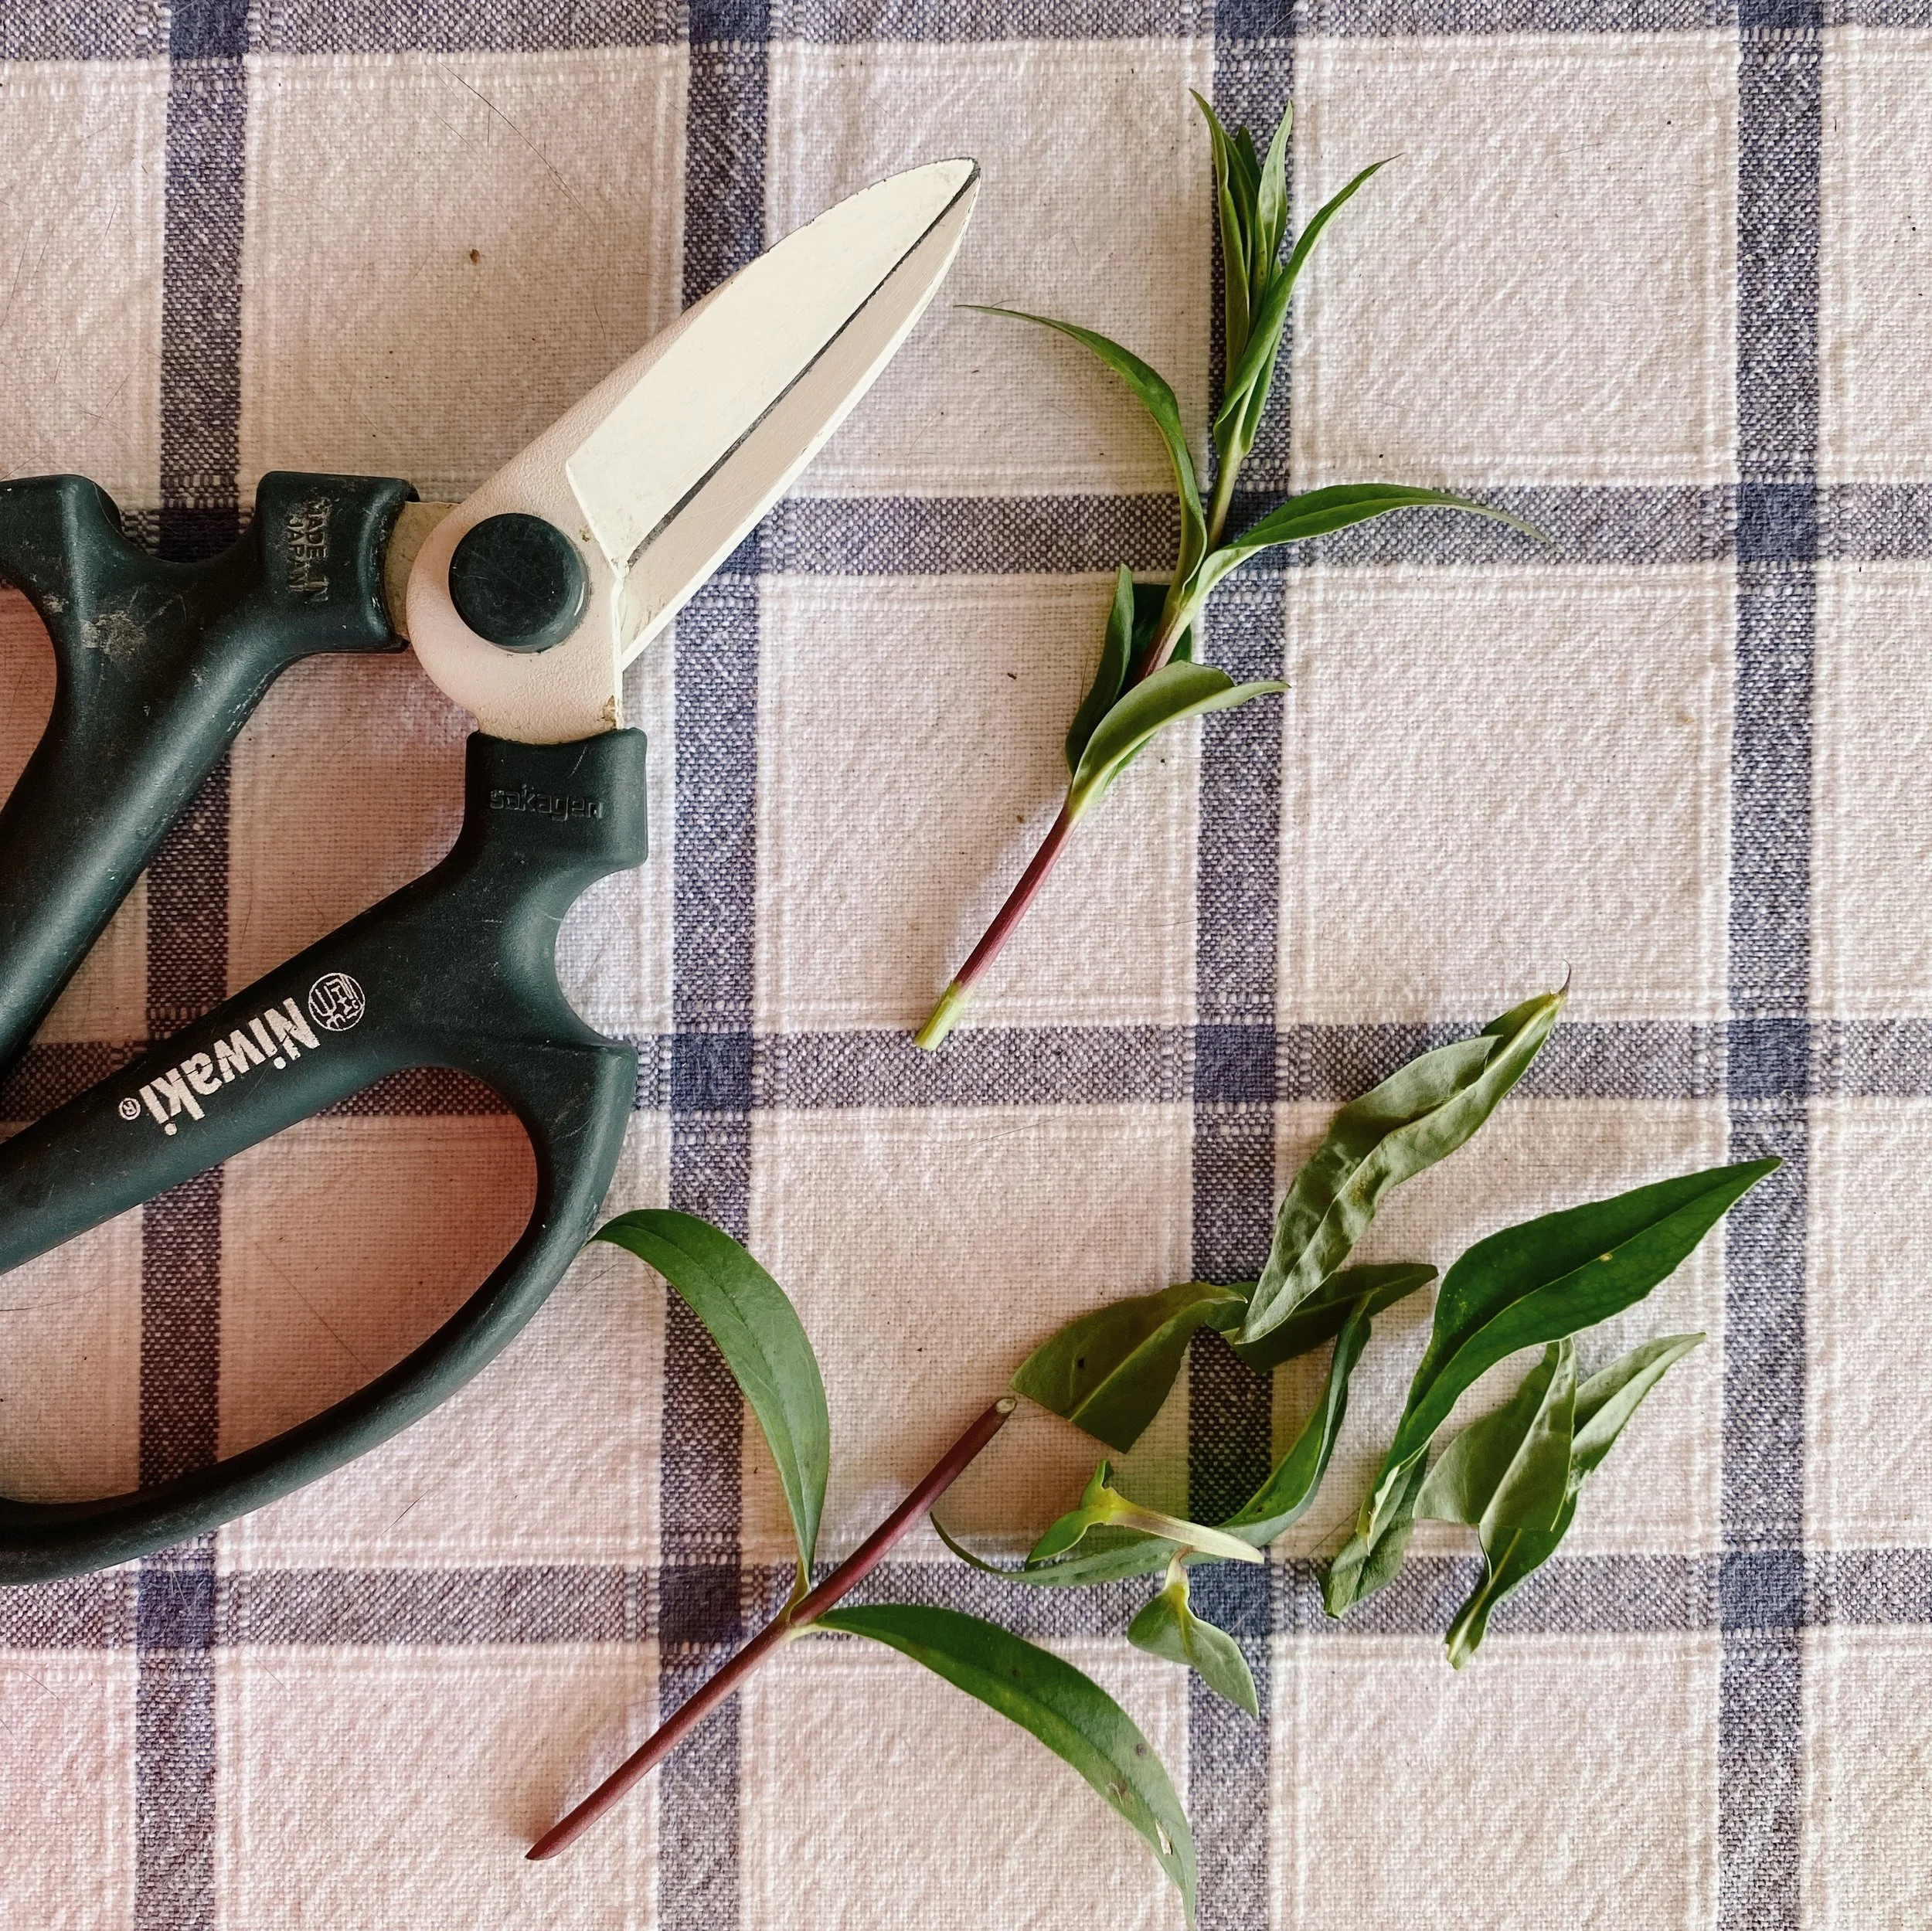
A trimmed and prepared cutting of penstemon ready to be inserted into cutting mix.
HOW TO CARE OF YOUR CUTTINGS
From here you simply care for your plant babies. Soil needs to be kept moist but not damp, a misting spray bottle can come in handy and so can a plastic bag over your pot which will both allow light in and create delicious humidity. Remove the bag a few times a week to keep the ventilation going. Position them out of direct sunlight, particularly in the hot summer months.
Fresh cuttings can look a little sad for a few weeks, and, depending on the plant variety, can take 4 – 10 weeks to root.
Gently tug at your specimens to see if there is any resistance indicating roots or watch for the telltale signs of new leaf growth showing success!
Only once rooted do you want to transfer the plant to a larger pot on its own (not plastic bag needed) where it will be ready for planting out in about a month or when the weather warms up again.
This is an expanded version of the article featured in my Stuff ‘Homed’ gardening column for beginners , The Press, Dominion Post and other regional papers on February 16th 2023
All words and images are my own, taken in my home and garden in Christchurch, New Zealand unless otherwise captioned.